

Setting up a wireless keyboard and mouse is really easy and takes only 5 minutes, but it can take longer if you’re not familiar with how to deal with basic computer hardware. Below are mentioned some steps you need to take that may vary slightly depending on the type of keyboard/mouse you are using. If you haven’t already bought a wireless keyboard or mouse, see our list of the best wireless gaming Keyboard and Mouse Combo.
Table of Contents
Steps of Connecting a Wireless Keyboard and Mouse to Computer
Step 1: Unpacking equipment

Connecting begins by unpacking all equipment from the box. If you bought it as part of a rebate program, keep the UPC in the box. The product box may contain a wireless keyboard, wireless mouse, wireless receiver, battery (if not, you may need to provide it), software (usually on a CD), and manufacturer instructions.
If anything is missing, contact the retailer or manufacturer from which you purchased the equipment. Each product has different requirements, so check if there are instructions included.
Step 2: Keyboard and mouse settings

Because keyboards and mice are wireless, they need batteries because they don’t get power from the computer like wired. Turn the keyboard and mouse over and remove the battery compartment cover. Insert a new battery in the direction indicated match plus and on the battery or vice versa.
Place the keyboard and mouse in a comfortable place on your desk. Observe proper ergonomics when placing new equipment. Now get off the right decisions in the future, you can help prevent carpal tunnel syndrome and tendonitis. If you have an existing keyboard and mouse in use during this setup process, move it somewhere else on your desk until this setup is complete.
Step: 3 Wireless receiver placement
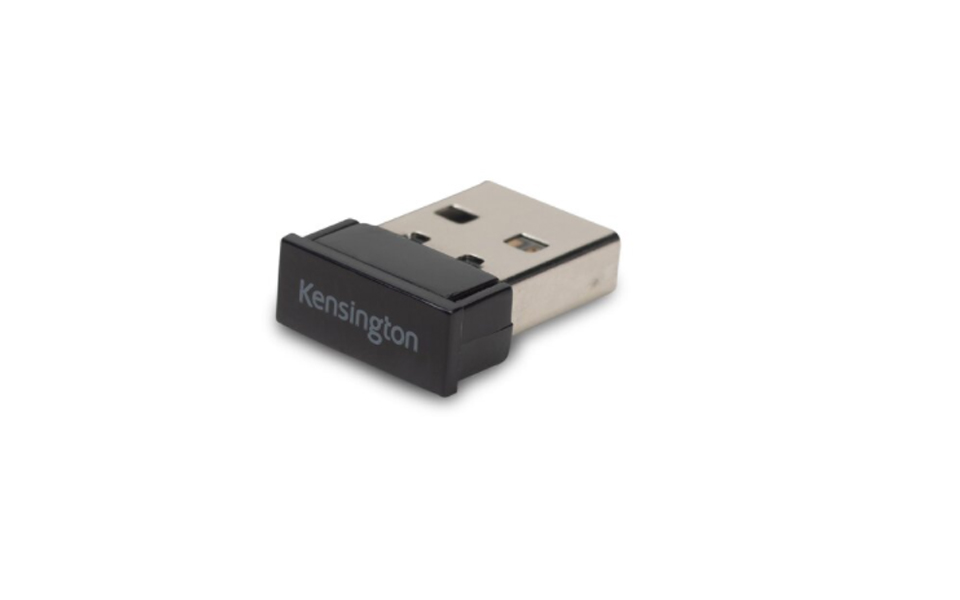
A wireless receiver is a component that physically connects to a computer and allows it to communicate with the system by receiving wireless signals from the keyboard and mouse. Some of these setups have 2 wireless receivers, 1 for each device, unless the setup instructions are almost equal. The specific requirements vary from brand to brand, but there are two considerations to keep in mind when choosing where to place the receiver.
Please keep your receiver at least 9 inches away from sources of interference. The receiver must be 9 inches and 6 feet from the keyboard and mouse. (Most receivers are just a small USB dongle. They plug directly into the USB port. Do not bother over about interference and distance.)
Step: 4 Software installation

Almost all new hardware comes with software that must be installed. The software contains drivers to tell your computer’s operating system how can it work with new hardware. The software provided for wireless keyboards and mice varies widely from manufacturer to manufacturer, so check the instructions included with your purchase for details.
However, in general, all installation software is very simple.
Insert the disc into the drive. The installation software starts automatically. Depending on your settings, you may need to download the software from the manufacturer’s website. Follow the instructions provided exactly. Read the onscreen instructions.
If you’re not sure how to answer a few questions during the setup process, it’s a safe way to accept the default suggestions. If you don’t have an existing mouse or keyboard or aren’t working, this should be your last step. It is almost impossible to install software without a working keyboard and mouse!
Step: 5 Connect the receiver to the computer

Finally, with the computer turned on, connect the USB connector at the end of the receiver to an empty USB port on the back of the computer case (or the front if necessary). If you don’t have a free USB port, you may need to purchase a USB hub that gives you access to the extra ports on your computer.
When you plug in the receiver, you begin to configure the hardware for use in your computer. When the configuration is complete, a message similar to “Your new hardware is ready to use” will be displayed on the screen.
Now it’s time to test your device
Test the keyboard and mouse by opening some programs with the mouse and entering text with the keyboard. We recommend testing all keys to making sure there are no problems. If the keyboard or mouse does not work, check that there is no interference and that the equipment is within range of the receiver. Also, check the troubleshooting information included in the manufacturer’s instructions.
So finally the process of Connecting a Wireless Keyboard and Mouse has been done. Hope you have learned how can you connect a Wireless Keyboard and Mouse to your Computer.
Read More: